Migrating Jekyll Blog to Gatsby
I had started building my personal website in 2017 with static HTML, CSS, JS, and in 2018 based on the available options, I went ahead with Jekyll. Overall, everything was working fine with Jekyll and was smooth. Although, my Twitter feed was filled with Gatsby, and I had seen some stickers named "My Website is faster than yours" of Gatsby while interacting with them for HackVerse Hackathon.

This made me look at some of the Gatsby sites, and it felt that the websites were fast, and it had the support of PWA, something I wanted on my site. Moreover, since it was based on React, I decided to try out to move my personal website from Jekyll to Gatsby.
The Migration
I won't be listing the steps in detail on how I migrated because there are plenty of blogs out there, and the documentation provided by Gatsby is excellent. I could get anything I wanted on the Gatsby documentation. I started looking into the tutorial of Gatsby to get the hang of it, and started my new website with the default starter code.
Here are the significant steps:
- Started looking into the tutorial,
- Took the gatsby default starter code,
- Added the inital components (
sidebar,post,default), and set up the basic styling as per the old website, - Added the content for the non-blog pages (
about,projects,contact,404), - Setup blog page component view (blogPost) from markdown pages using the
onCreateNode,createPagesAPIs, - Learned a bit about using GraphQL and GraphiQL UI,
- Exported all the blog posts from the previous site,
- Index Page Display to list all the blog posts (
blogList), - Added SEO for all pages,
- Added automatic deployment with TravisCI,
- Added Google Analytics & PWA support,
- Some other fixes for overall look & feel.
Here's the lighthouse report on the new website:

GitHub Actions
When GitHub Actions was released in August 2019, I always wanted to give it a try for some project but didn't get enough time to try it out. While I was using Travis CI with this deployment, I thought of giving GitHub Actions a try. Finally!
Here are the steps I followed:
-
Generated a New Token from GitHub
Settings -> Developer Settings -> Personal access tokenswith repo access scope.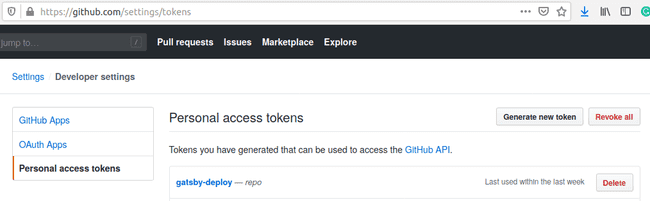
-
I was deploying on my root github.io, so the name of my repo is mishal23.github.io, I added the token in the repository
Settings -> Secretswith the nameGH_TOKEN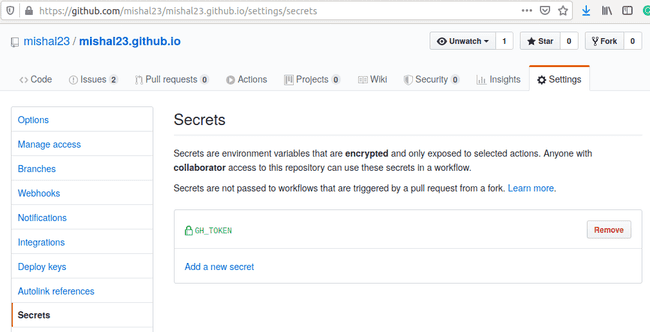
-
Created a file named
gh-pages-deploy.ymlin the directory.github/workflows/using the Simple Workflow template available under the Actions tab on the repository. -
Since the User pages must be built from the master branch, I set my default branch as source on the repository and left the master branch for deployment and hence triggered the workflow only on source branch push,
-
I configured it to node.js environment with 12.x version, cached the dependencies so that it doesn't have to be installed every time and faster CI,
-
Configured to initial git settings of user.name and user.email as it is required, used to GH_TOKEN to give the access and then made the deployment run using the following command:


npm run deploy
That's it! Pretty simple! Really like the simplicity of GitHub Actions. Find the complete configuration file here
Conclusion
The migration was definitely worth it. The site is blazing fast 🚀 and, moreover, got to pick up some new skills. I would recommend anyone to migrate to gatsby. There are certain features and fixes which I plan to do in due time. If you need any further help, feel free to take a look at the repo or contact me If there are any issues you come across, please do open up here or would love it if you fix it :)